Until now, Instagram did not let you upload images or content from the desktop version of their platform. It took extra steps to upload images to Instagram from the phone since the content box was so tiny, and the images I would make on the computer would then need to be transferred to the phone to use it easily. The main issue was that my device’s content area was so small that many typo issues would happen.
I know what you are thinking; you can use Creator Studio. Yes, but many times I would be on the go and wouldn’t be near my computer to do these steps resulting in typo issues in the content. I also noticed there were issues using this platform, and the posts would not upload at all. This glitch has been corrected since this happened.
So, the other day I learned that we can now upload to Instagram right from my desktop. YAY! Today, I am going to show you how to do this. Watch the tutorial video below from our YouTube channel, or read the rest of the instructions below for details.
How to upload images/photos on Instagram through the Desktop
Below are the step-by-step instructions on how to do this. Follow along and see how easy it is!
First, sign in to your business Instagram account on your computer browser. At the top right-hand side, you should see a plus sign like the one you see below. Press the plus sign.

Now, a pop-up should appear and allow you to upload photos and videos from your computer. If you don’t know the dimensions you need for Instagram, I include a link from Adobe to help you.
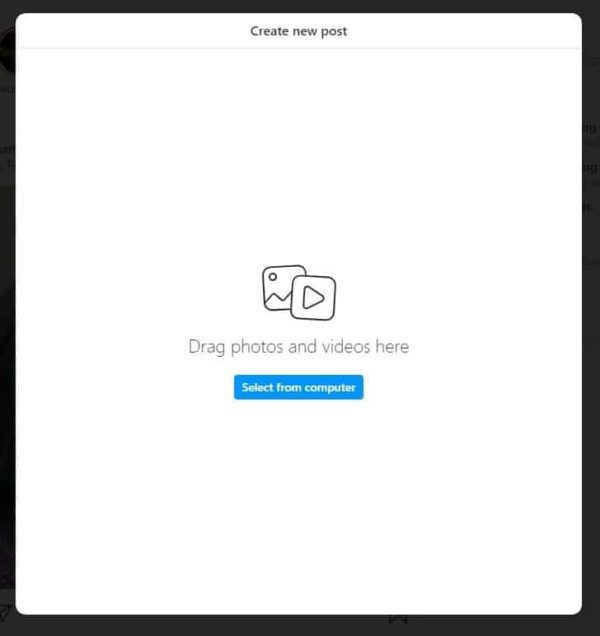
You can upload several at once by selecting more than one image at one time using the CTRL key and selecting your images. Or, after you upload your first image, you can click the bottom right-hand corner box, and there is a plus sign to add more photos.

After you upload the images or videos, you can make a few modifications.
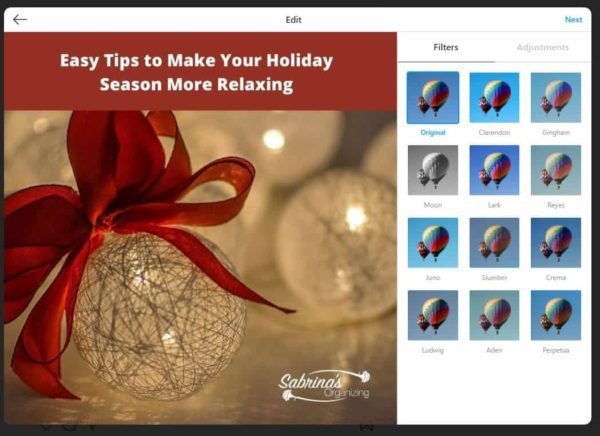
The next step is to go to the edit section and add filters and adjustments if you want. Try them out and see if there are any that enhance your image.
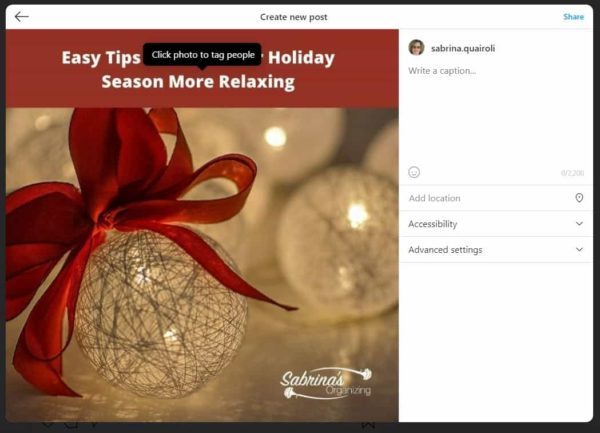
Now, you can add the content (caption). You can add emojis, add location, and accessibility for each image, and it has advanced settings. When you type in the hashtag symbol, you can easily see the popular hashtags and select from them.
It doesn’t look like you can schedule it from here. But you can do this from the business section on Facebook Creator Studio. Check out the link here and go to your page to upload images to Instagram and Facebook. NOTE: you need to link your Instagram to your Facebook account to schedule posts on Instagram from Facebook.
Well, there you have it. That was super easy. I am so glad they finally allowed me to do this on the computer since I work there all day long. Let’s continue the conversation; please leave a comment below after trying this feature and share any tips or suggestions. I would love to hear from you.
Looking for more information about Instagram, check out our other posts.
The Most Important Areas of Instagram Insights
How To Make Your Blog More Shareable
Please note these are affiliate links through Amazon (affiliate), and at no additional cost to you, I will earn an affiliate commission if you click through and decide to make a purchase.



Brilliant! Thank you so much!
I, too, was happy when Instagram made this change. It’s about time!
That was super helpful, Sabrina! Instagram remains a challenge to me, but this is great to know. Thanks for sharing. 🙂